Complete Guide to Charcoal Brick Veneer
Complete Guide Charcoal Brick Veneer: Installation, Benefits & Design Ideas Transform Your Space with Deep, Dark Gray Tones Discover the versatility of charcoal brick veneer for your building projects. From installation tips to grout selection, explore everything you need to create stunning spaces with authentic reclaimed brick aesthetics. Charcoal Brick Veneer Overview Charcoal reclaimed brick…
Complete Guide
Charcoal Brick Veneer: Installation, Benefits & Design Ideas
Transform Your Space with Deep, Dark Gray Tones
Discover the versatility of charcoal brick veneer for your building projects. From installation tips to grout selection, explore everything you need to create stunning spaces with authentic reclaimed brick aesthetics.

Charcoal Brick Veneer Overview
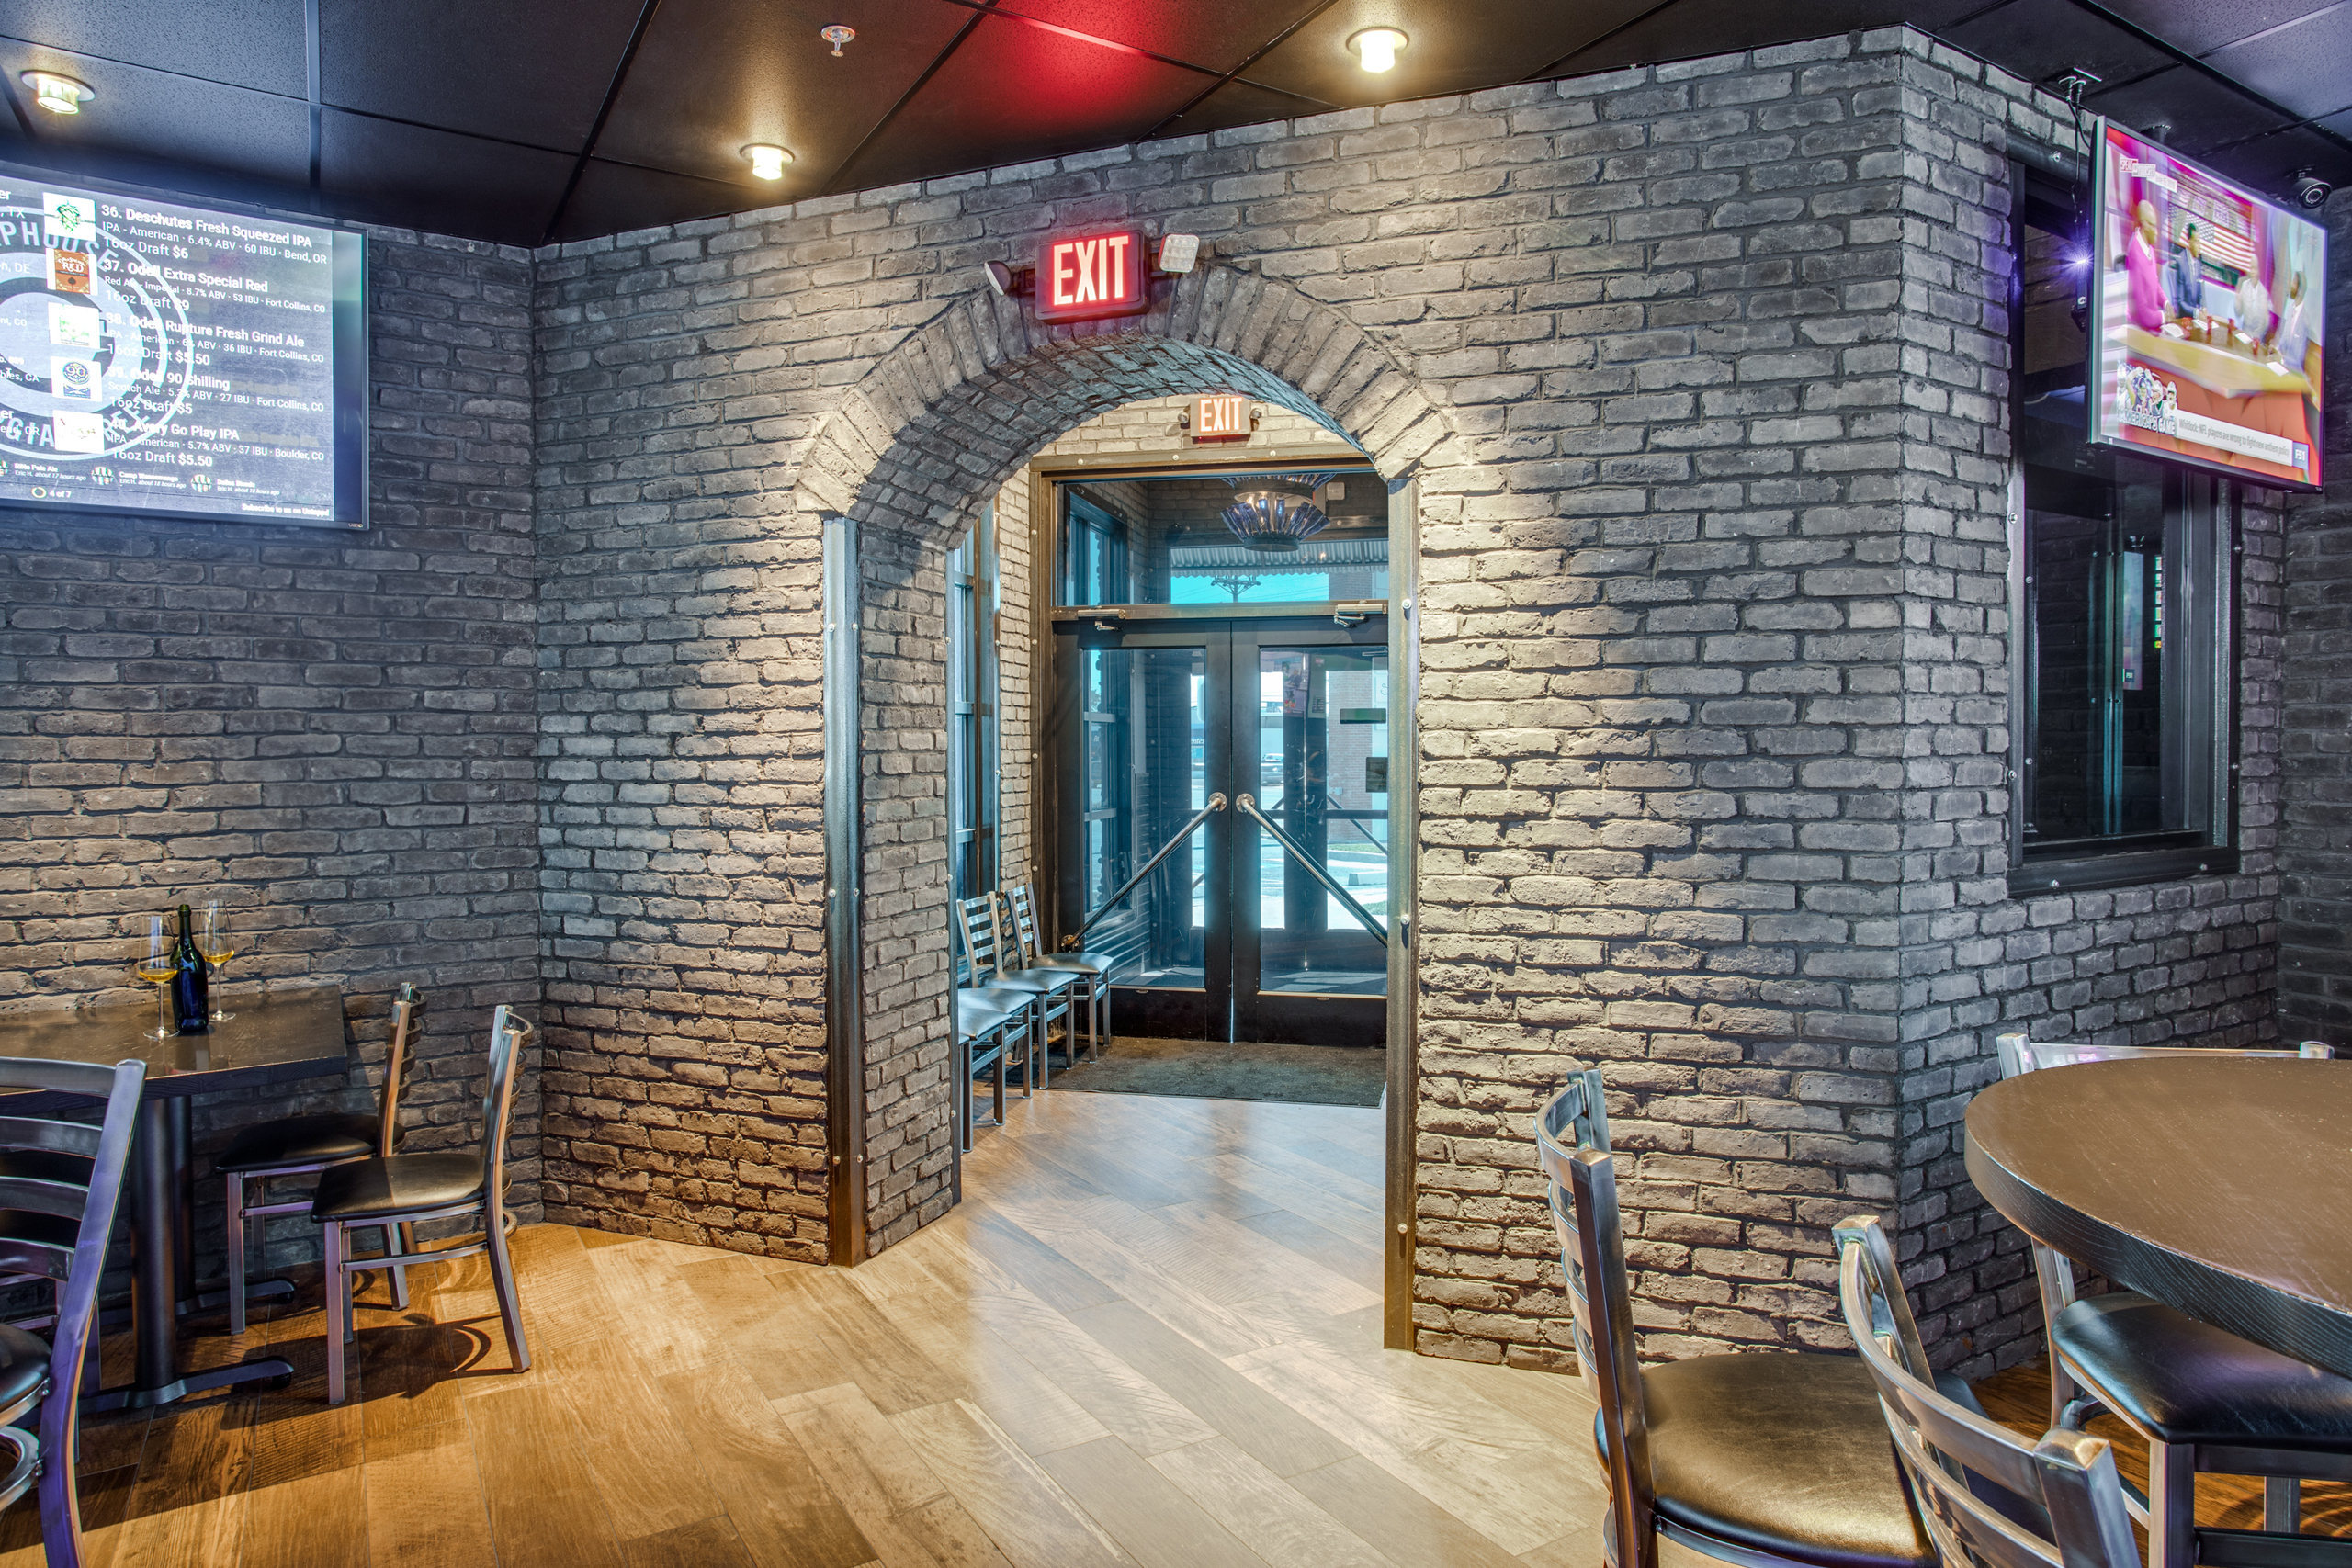
Charcoal reclaimed brick veneer is defined by its deep, dark gray tones, which give it a strong, bold presence. It mimics the natural discoloration of bricks that have been exposed to industrial elements over time, offering an edgy appeal perfect for modern and industrial design aesthetics.
Key Benefits of Charcoal Brick Veneer
- Authentic Weathered Appearance: Natural color variations and chipped corners provide genuine vintage charm
- Sustainable Choice: Manufactured to replicate reclaimed materials without environmental impact
- Lightweight Installation: Thin veneer design requires less structural support than traditional brick
- Versatile Applications: Perfect for interior accent walls, exterior facades, and fireplace surrounds
- Low Maintenance: Durable finish resists fading and requires minimal upkeep
Installation Guide for Charcoal Brick Veneer
Step 1: Surface Preparation
Ensure your surface is clean, dry, and structurally sound. For interior applications, drywall or cement board provides an ideal substrate. Exterior applications require weather-resistant sheathing and a proper moisture barrier.
Step 2: Layout Planning
Dry-fit your charcoal bricks before installation to ensure proper color distribution. Mix bricks from different boxes to achieve natural color variation. Mark guidelines using a level and chalk line for straight courses.
Step 3: Adhesive Application
Apply polymer-modified thin-set mortar using a notched trowel. Work in small sections to prevent the adhesive from drying before brick placement. Press each brick firmly with a slight twisting motion.
Step 4: Cutting and Fitting
Use a wet saw with a diamond blade for precise cuts around outlets, windows, and corners. The dark color of charcoal brick helps hide minor imperfections, but accuracy ensures professional results.
Step 5: Grouting Process
Allow adhesive to cure for 24 hours before grouting. Use a grout bag for cleaner application, especially with contrasting grout colors. Remove excess grout with a damp sponge before it fully sets.
Step 6: Sealing and Protection
Apply a breathable masonry sealer after grout has cured completely. This protects against moisture and staining while maintaining the natural appearance of your charcoal brick veneer.
Grout Color Selection Guide
The grout color you choose dramatically impacts the final appearance of your charcoal brick veneer installation. Here’s how different options affect the overall aesthetic:
White Grout
Visual Impact: Creates dramatic contrast that highlights each individual brick
Best For: Modern, contemporary designs where you want the brick pattern to be a focal point
Design Tip: Perfect for smaller spaces as the contrast adds visual interest and depth
Gray Grout
Visual Impact: Provides subtle definition while maintaining a cohesive look
Best For: Industrial loft aesthetics and seamless wall treatments
Design Tip: Choose a shade slightly lighter than the bricks for gentle contrast
Charcoal Grout
Visual Impact: Creates a monolithic appearance with minimal joint visibility
Best For: Dramatic feature walls and sophisticated commercial spaces
Design Tip: Ideal when you want the texture, not the pattern, to be the focus
Design Applications & Ideas
Interior Applications
- Accent Walls: Create stunning focal points in living rooms, bedrooms, or offices
- Kitchen Backsplashes: Add industrial charm that pairs beautifully with stainless steel appliances
- Fireplace Surrounds: The dark tones hide soot while providing timeless appeal
- Commercial Spaces: Perfect for restaurants, bars, and retail environments seeking authentic character
- Bathroom Features: Water-resistant when properly sealed, ideal for shower walls or vanity backdrops
Exterior Applications
- Full Facade Coverage: Transform your home’s curb appeal with comprehensive brick veneer installation
- Architectural Accents: Highlight entryways, columns, or gables with contrasting charcoal brick
- Mixed Material Designs: Combine with stone veneer or siding for dynamic exteriors
- Chimney Wraps: Update existing chimneys with lightweight veneer application
Pro Design Tips
Lighting Considerations: Charcoal brick absorbs light, so plan for adequate illumination in interior spaces. Use uplighting or wall washers to highlight texture.
Color Pairing: Charcoal brick pairs exceptionally well with:
- Warm wood tones for balance
- White or cream for contrast
- Metallic finishes for industrial vibes
- Deep blues or greens for sophistication
Pattern Variations: Consider these installation patterns:
- Traditional running bond
- Stacked bond for modern appeal
- Herringbone for visual interest
- Mixed patterns for unique designs
Maintenance & Care
Regular Cleaning
Maintain your charcoal brick veneer with these simple steps:
- Dust regularly with a soft brush or vacuum with brush attachment
- Clean with mild detergent and water for deeper cleaning
- Avoid harsh chemicals that can damage the finish
- Address spills promptly to prevent staining
Long-Term Care
Ensure lasting beauty with proper maintenance:
- Reapply sealer every 3-5 years for exterior applications
- Inspect grout lines annually and repair as needed
- Check for efflorescence and treat with appropriate cleaners
- Protect from direct water spray during pressure washing
Why Choose Toro Stone Charcoal Brick Veneer?
Quality & Authenticity
Our charcoal reclaimed brick veneer is manufactured to exacting standards, ensuring consistent color, texture, and dimensions while maintaining the authentic appearance of weathered brick.
Environmental Benefits
Choose sustainable construction without compromising on aesthetics. Our manufacturing process uses less energy than traditional brick production while delivering superior performance.
Professional Support
From project planning to installation guidance, our team provides comprehensive support. Access our installation resources and find qualified installers in your area.
Ready to Transform Your Space?
Calculate your project requirements and connect with local dealers to bring your charcoal brick veneer vision to life.
Frequently Asked Questions
How much charcoal brick veneer do I need for my project?
Use our stone calculator to determine exact quantities. Generally, calculate the square footage of your area and add 10% for cuts and waste. Our charcoal brick veneer covers approximately 7 square feet per box.
Can charcoal brick veneer be installed over existing brick?
Yes, thin brick veneer can be installed over existing brick if the surface is sound and properly prepared. The surface must be clean, and any loose mortar should be repaired. Consult with a professional for specific project requirements.
What’s the difference between charcoal and other dark brick options?
Charcoal brick veneer offers consistent deep gray tones with subtle variations that mimic natural weathering. Unlike painted or stained options, the color is integral to the product, ensuring lasting beauty without fading or peeling.
Is charcoal brick veneer suitable for high-moisture areas?
When properly sealed, charcoal brick veneer performs excellently in bathrooms, kitchens, and covered exterior applications. Always use appropriate waterproofing methods and sealers for your specific application.
How long does installation typically take?
Professional installation of a typical accent wall (100 square feet) takes 1-2 days, including surface preparation and grouting. DIY installations may take longer depending on experience level. Always allow proper curing time between steps.
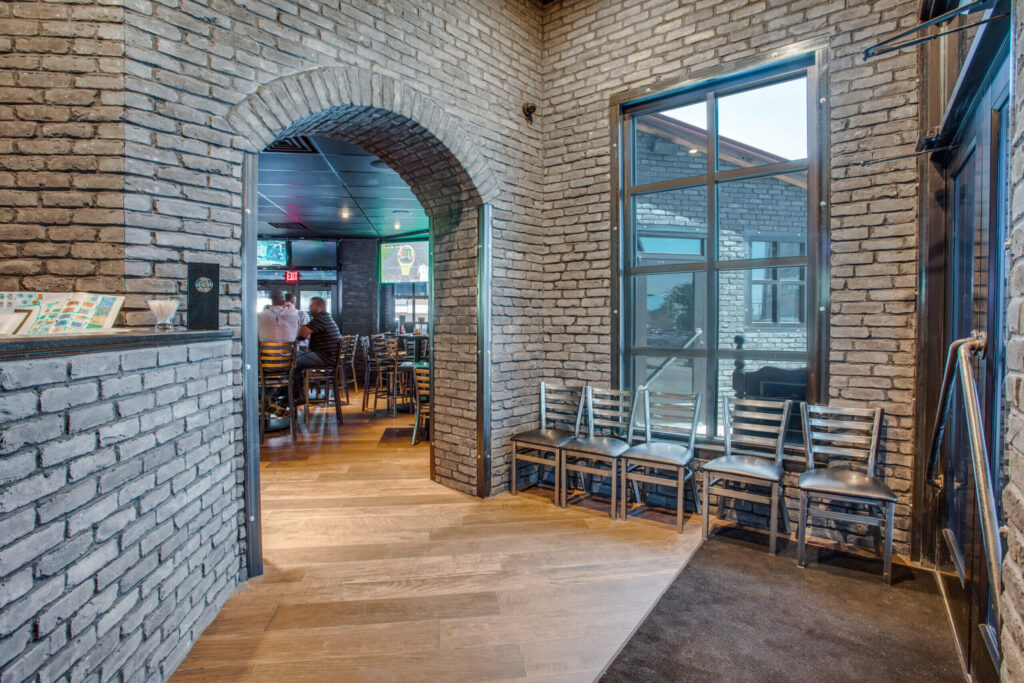
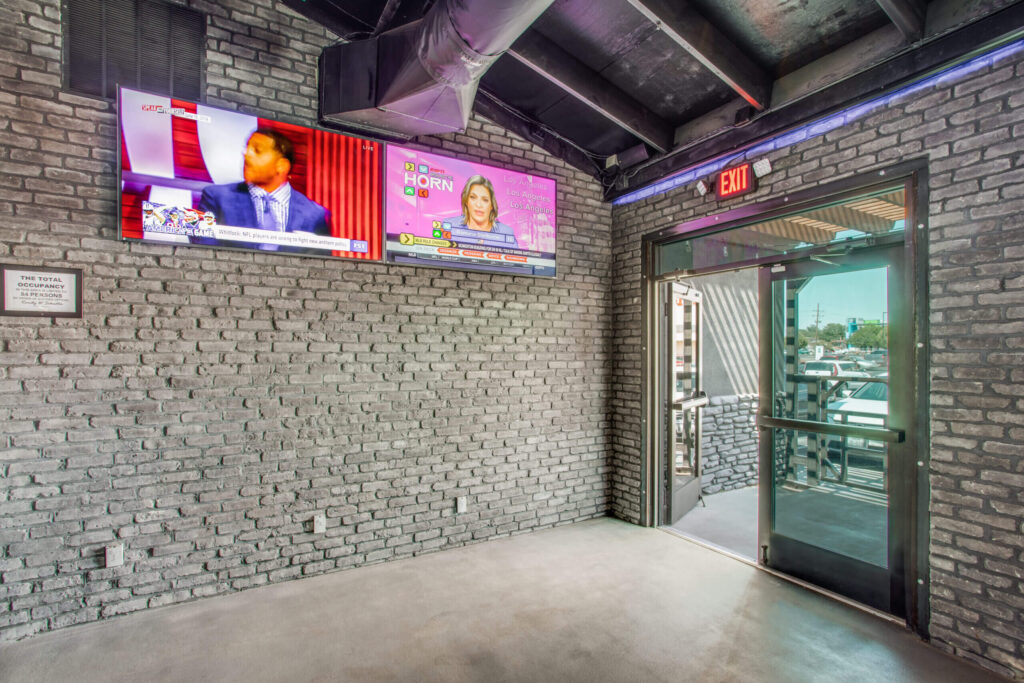
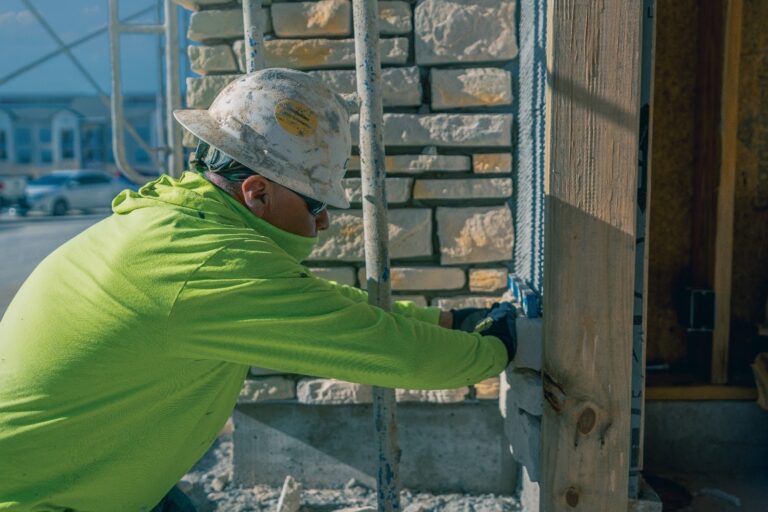
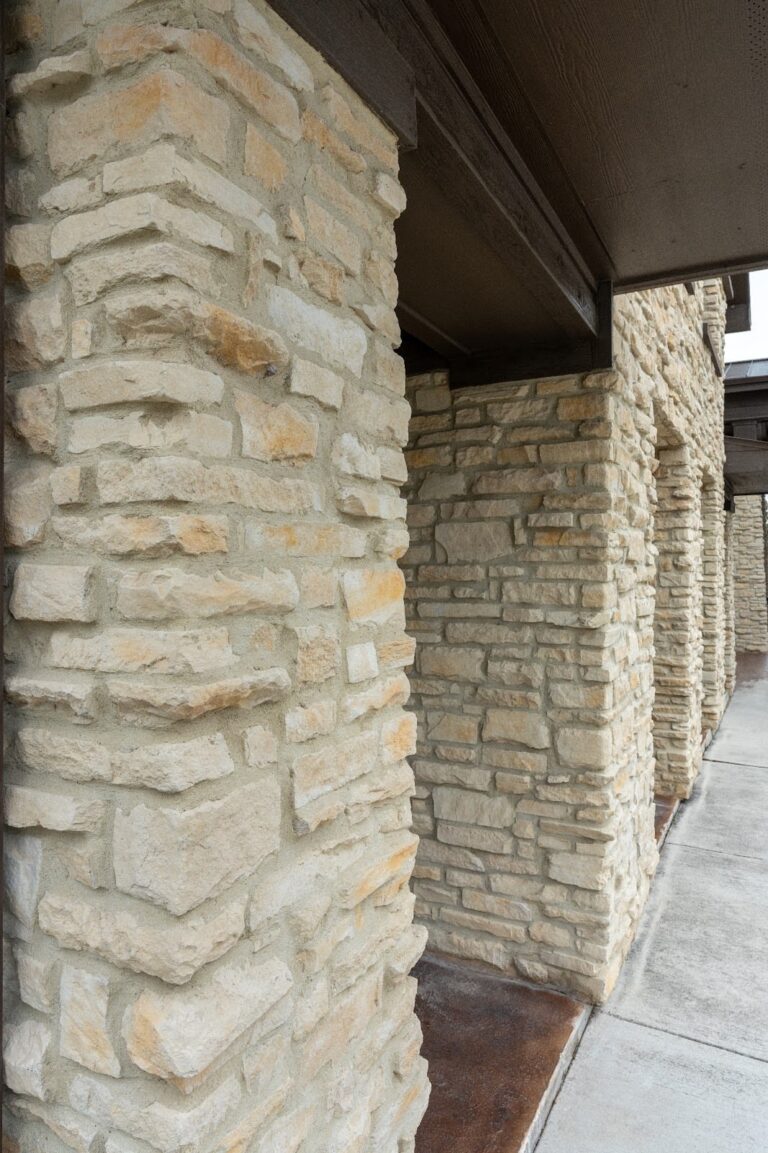
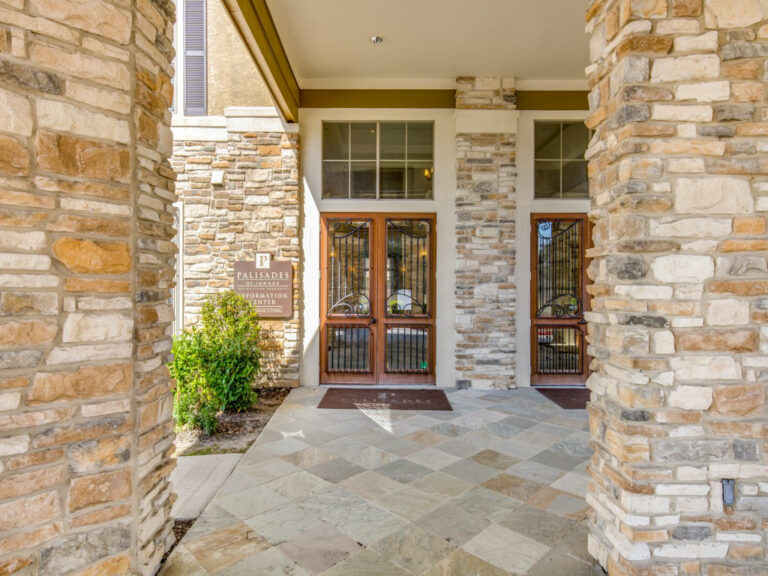
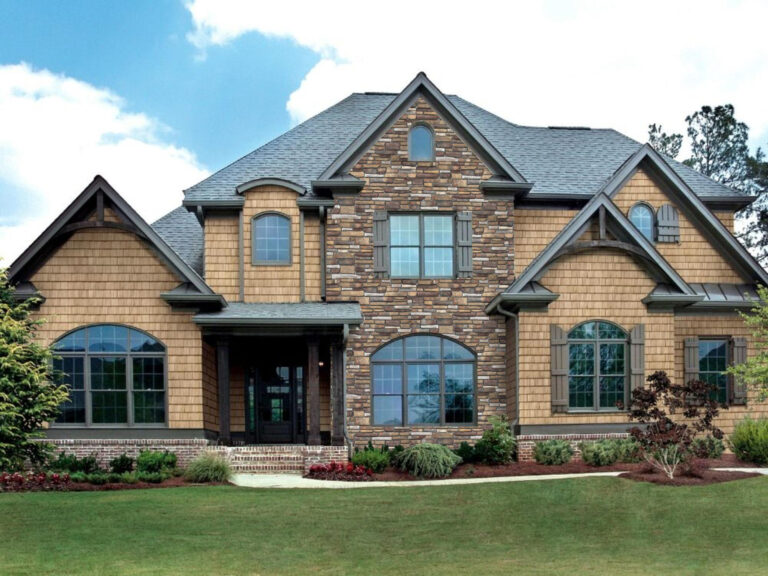
Gallery